Site Preparation
Update: As of 2026 we no longer offer site prep services, but we're still happy to give you free advice — just give us a call.
Setting Up Your Site Is Crucial
The foundation under a shed is no different than the foundation under your home. Your shed and home will be as good as the foundation underneath them. Site preparation is a very important part of a lasting and sturdy shed. If you want the shed to last for generations, then you will want to take your time on placement, positioning, and the preparation of the site where the storage shed will be placed. If the shed is properly set up with a good foundation, the windows and doors will function properly. Also, when you set nails or screws on the workbench, they won't roll away!
Some might say "Ah… it's only a shed. Just drop it over there… that spot looks pretty level!" If you plan on using the shed for a very short term and then having us move it elsewhere, this plan might work for a little while, but most customers want to place a shed and use it for a lifetime or longer.
If you are worried about a wooden structure on the ground, no need! The pressure-treated lumber is what makes contact with the ground. Everything else is built and designed to resist the elements and the North Country rodents and insects. Our LP Smartside wall panels have proven durability to resist harsh weather, rich cedar grain texture for enhanced beauty, and SmartGuard® treatment for protection against rot and termites.
Steps
These steps need to be completed by you, the customer
Check Codes
You'll need to check with your local official for placement of the structure purchased and get approval.
Clear Site
Clear out any trees, shrubs, or brush in that area.
Stake Out Dimensions
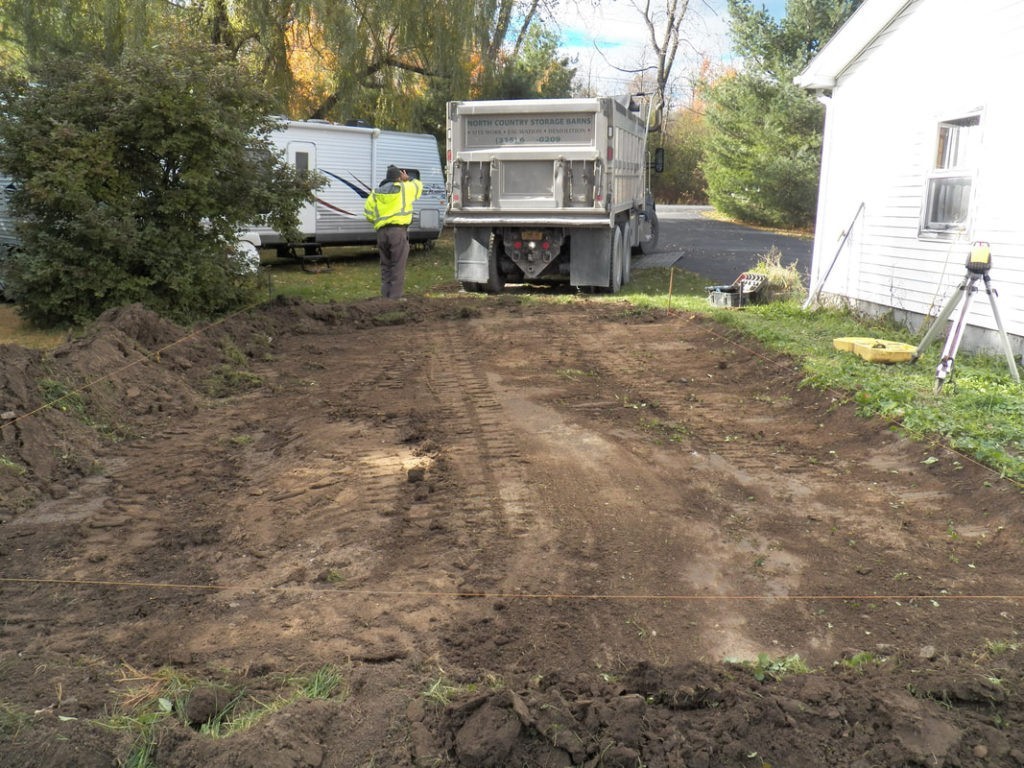
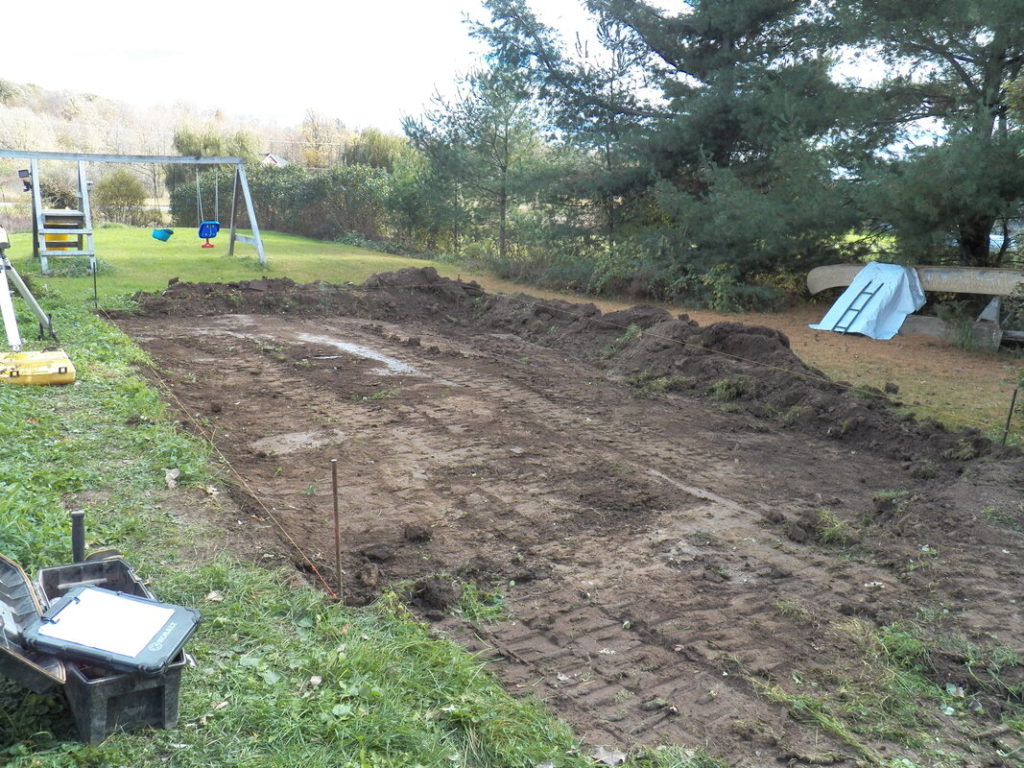
Stake out the exact dimensions of your structure. Add 1' to the length and width of the structure. This allows for optimum drainage. If this is not done, the drainage from the roof will create puddles / ruts in the ground. They will splash up on the bottom sides of the structure during every storm. The gravel base will prolong the life of your new structure.
The following steps can be completed by yourself or contracted out
Remove 4" to 6" of Sod / Lawn
Before the shed is delivered, remove 4" to 6" of sod or lawn using a truck and trailer with proper equipment. Let the contractor know where you want it. Additional fees apply to take it away and dispose of it.
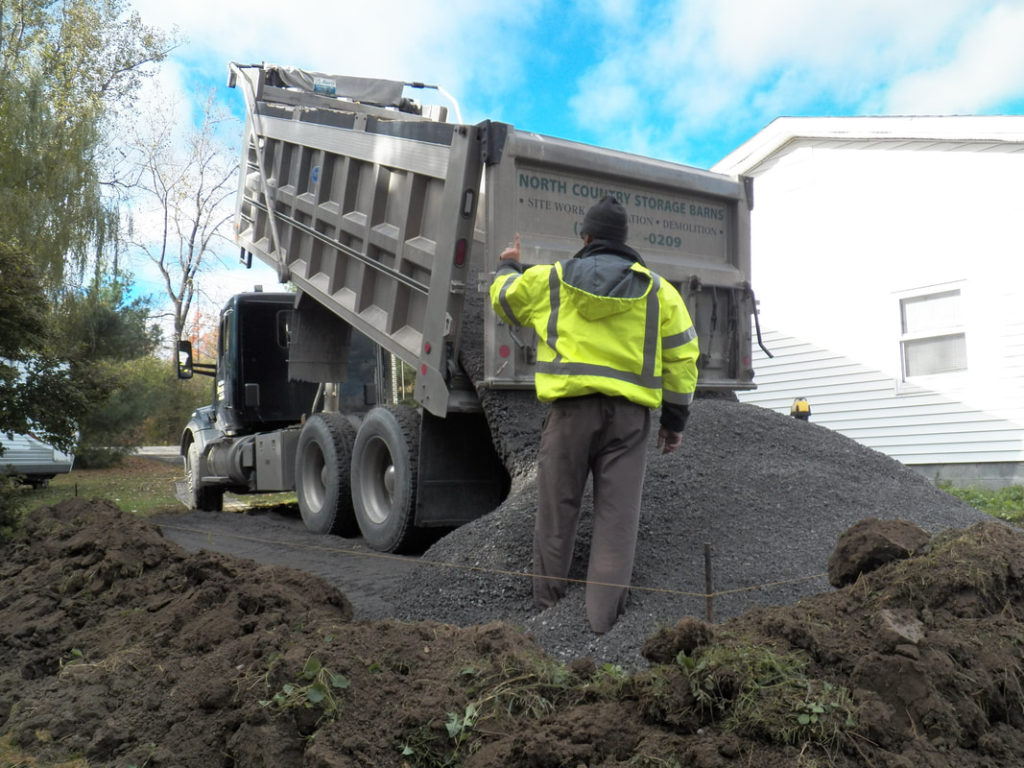
Fill Area with Crushed Stone
Fill the area with ¾" – 1½" crusher run stone (commonly called #2 crusher run at gravel yards). The stone will be tamped down and laser leveled to ensure the designated spot is perfectly level, at least 4" to 6" in thickness. Additional stone may be required to make the location level. Your site must be within 6" of level to avoid additional loads of stone and associated charges.